A Step-by-Step Guide to JoggAI Video Explainer
JoggAI Video Explainer can turn a topic, link, or uploaded file into an animated explainer video of up to three minutes. It automatically organizes your content, creates a storyboard, and generates animations in various styles, making it ideal for educational lessons and faceless knowledge-sharing or storytelling channels.
Step 1: Choose a Style and Format
Open AI Presentation and select Video Explainer.
Then, choose a visual style and output format that suit your topic.
JoggAI offers a variety of visual styles and two output formats:
- Video: Creates a Fully Animated video built from motion footage.
- Image: Creates a Frame by Frame video built from still images.
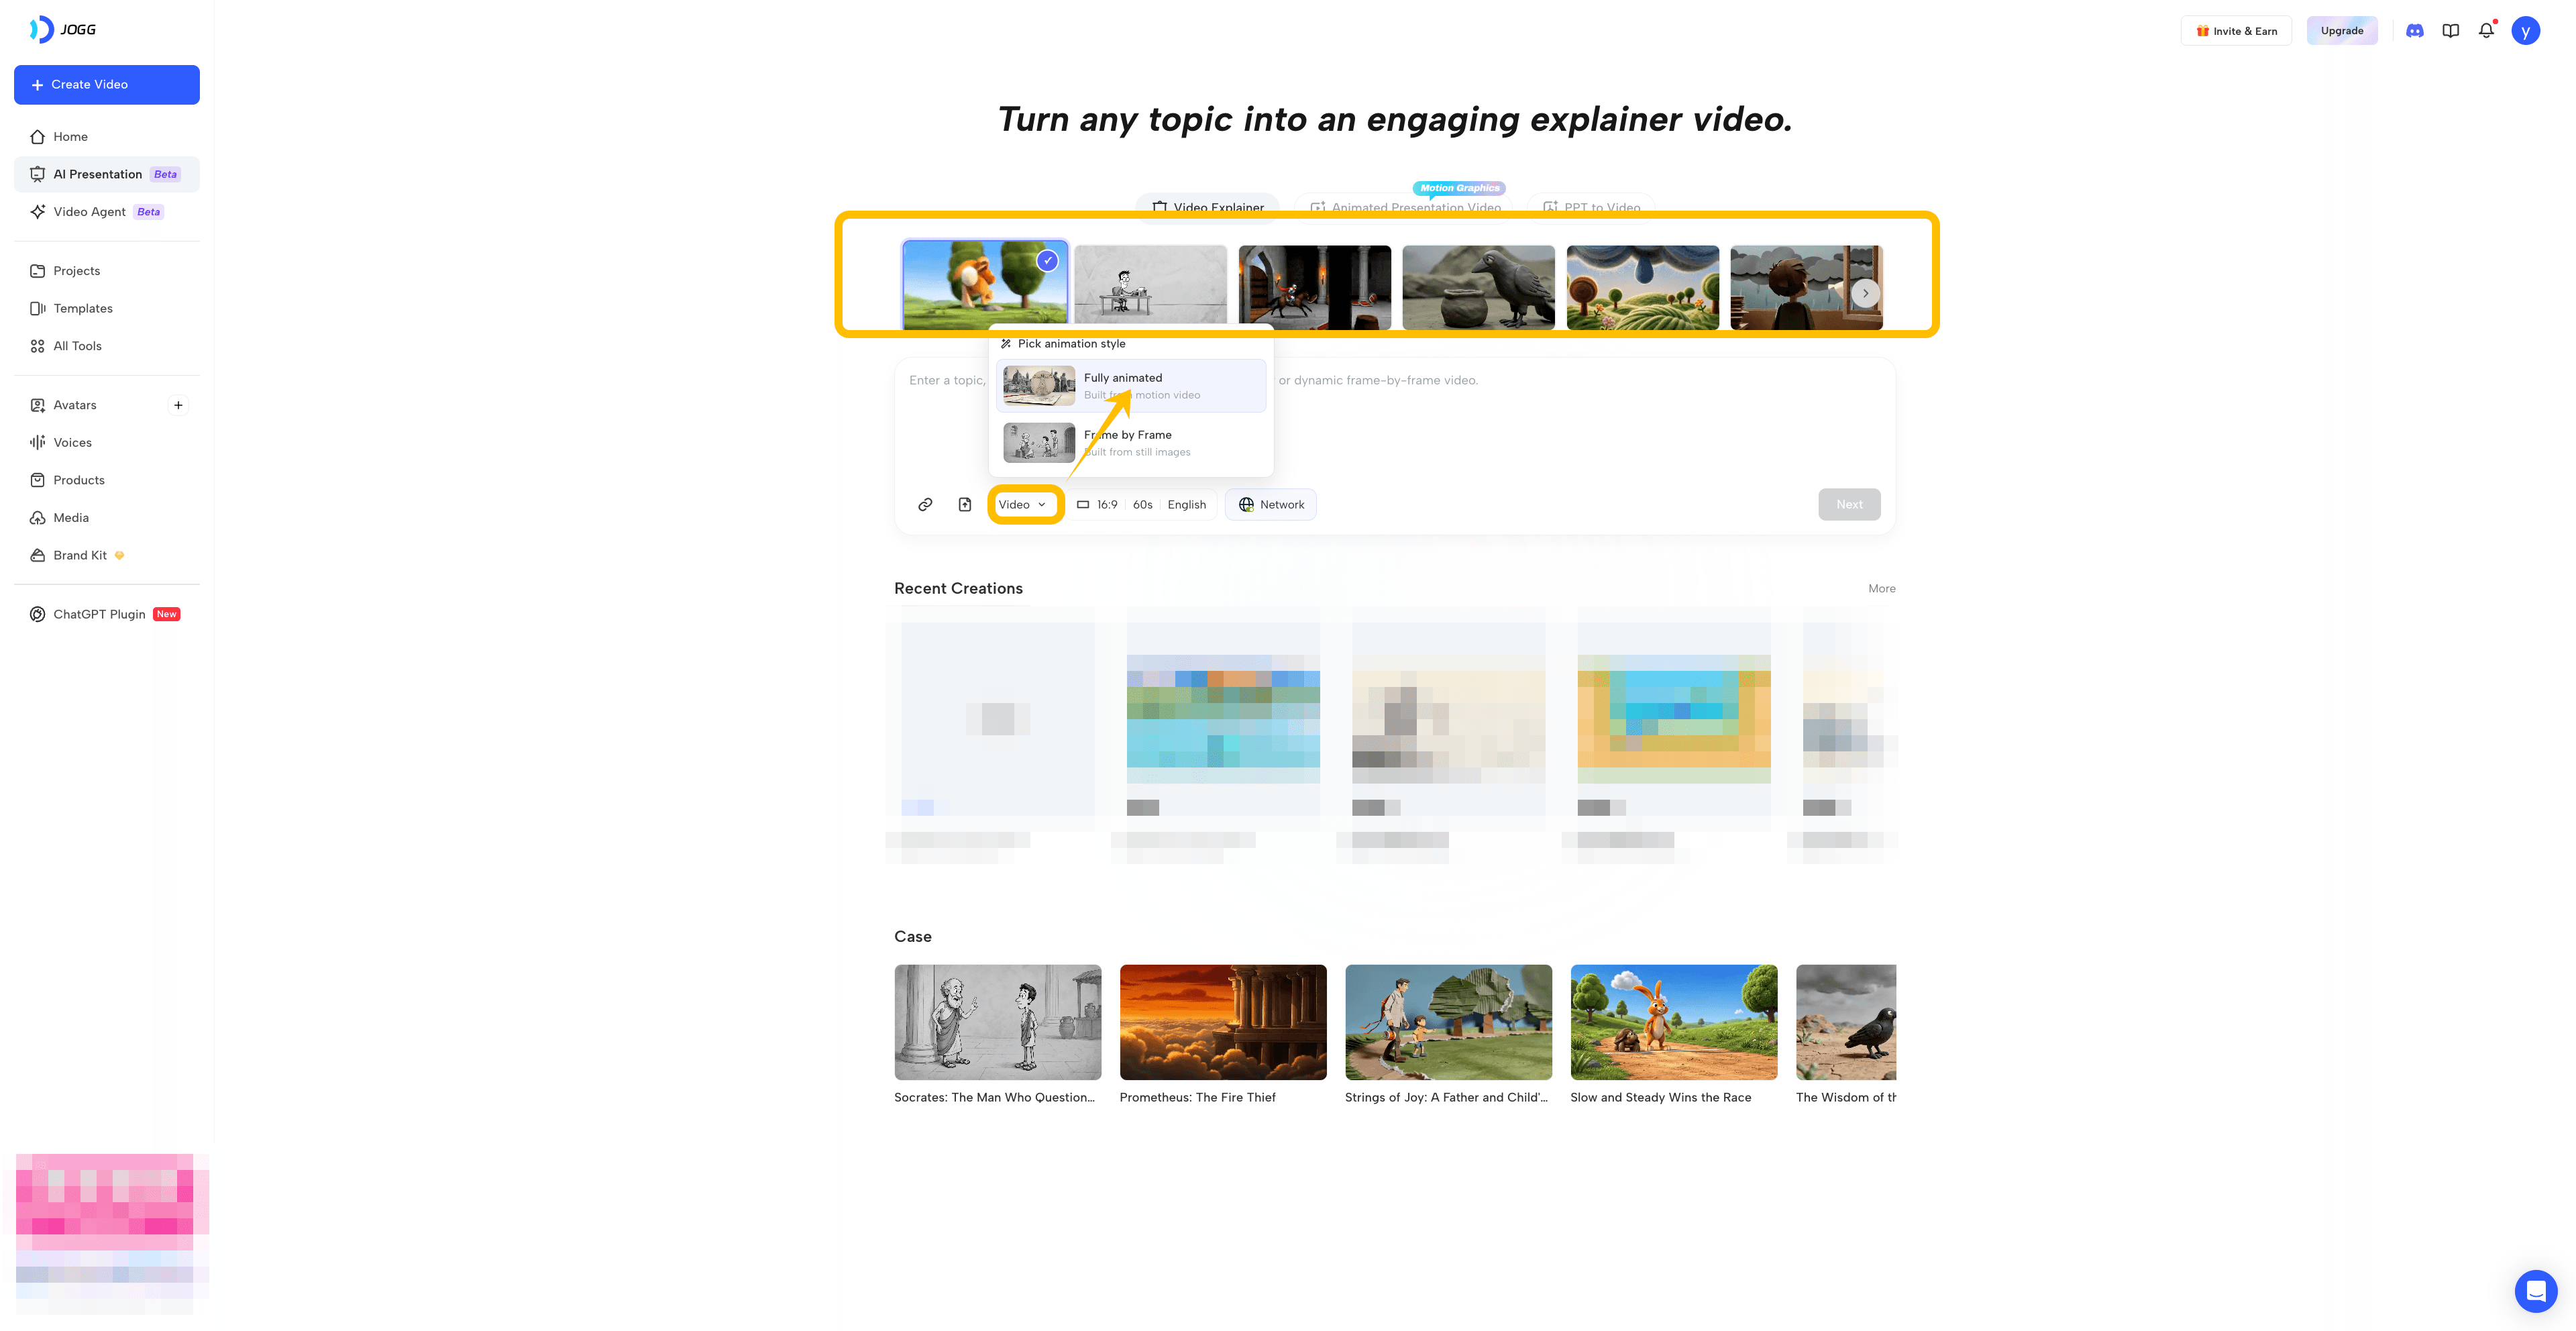
See the examples below to compare Fully Animated and Frame by Frame videos.
Fully Animated
Frame by Frame
Step 2: Enter Your Topic and Configure the Video
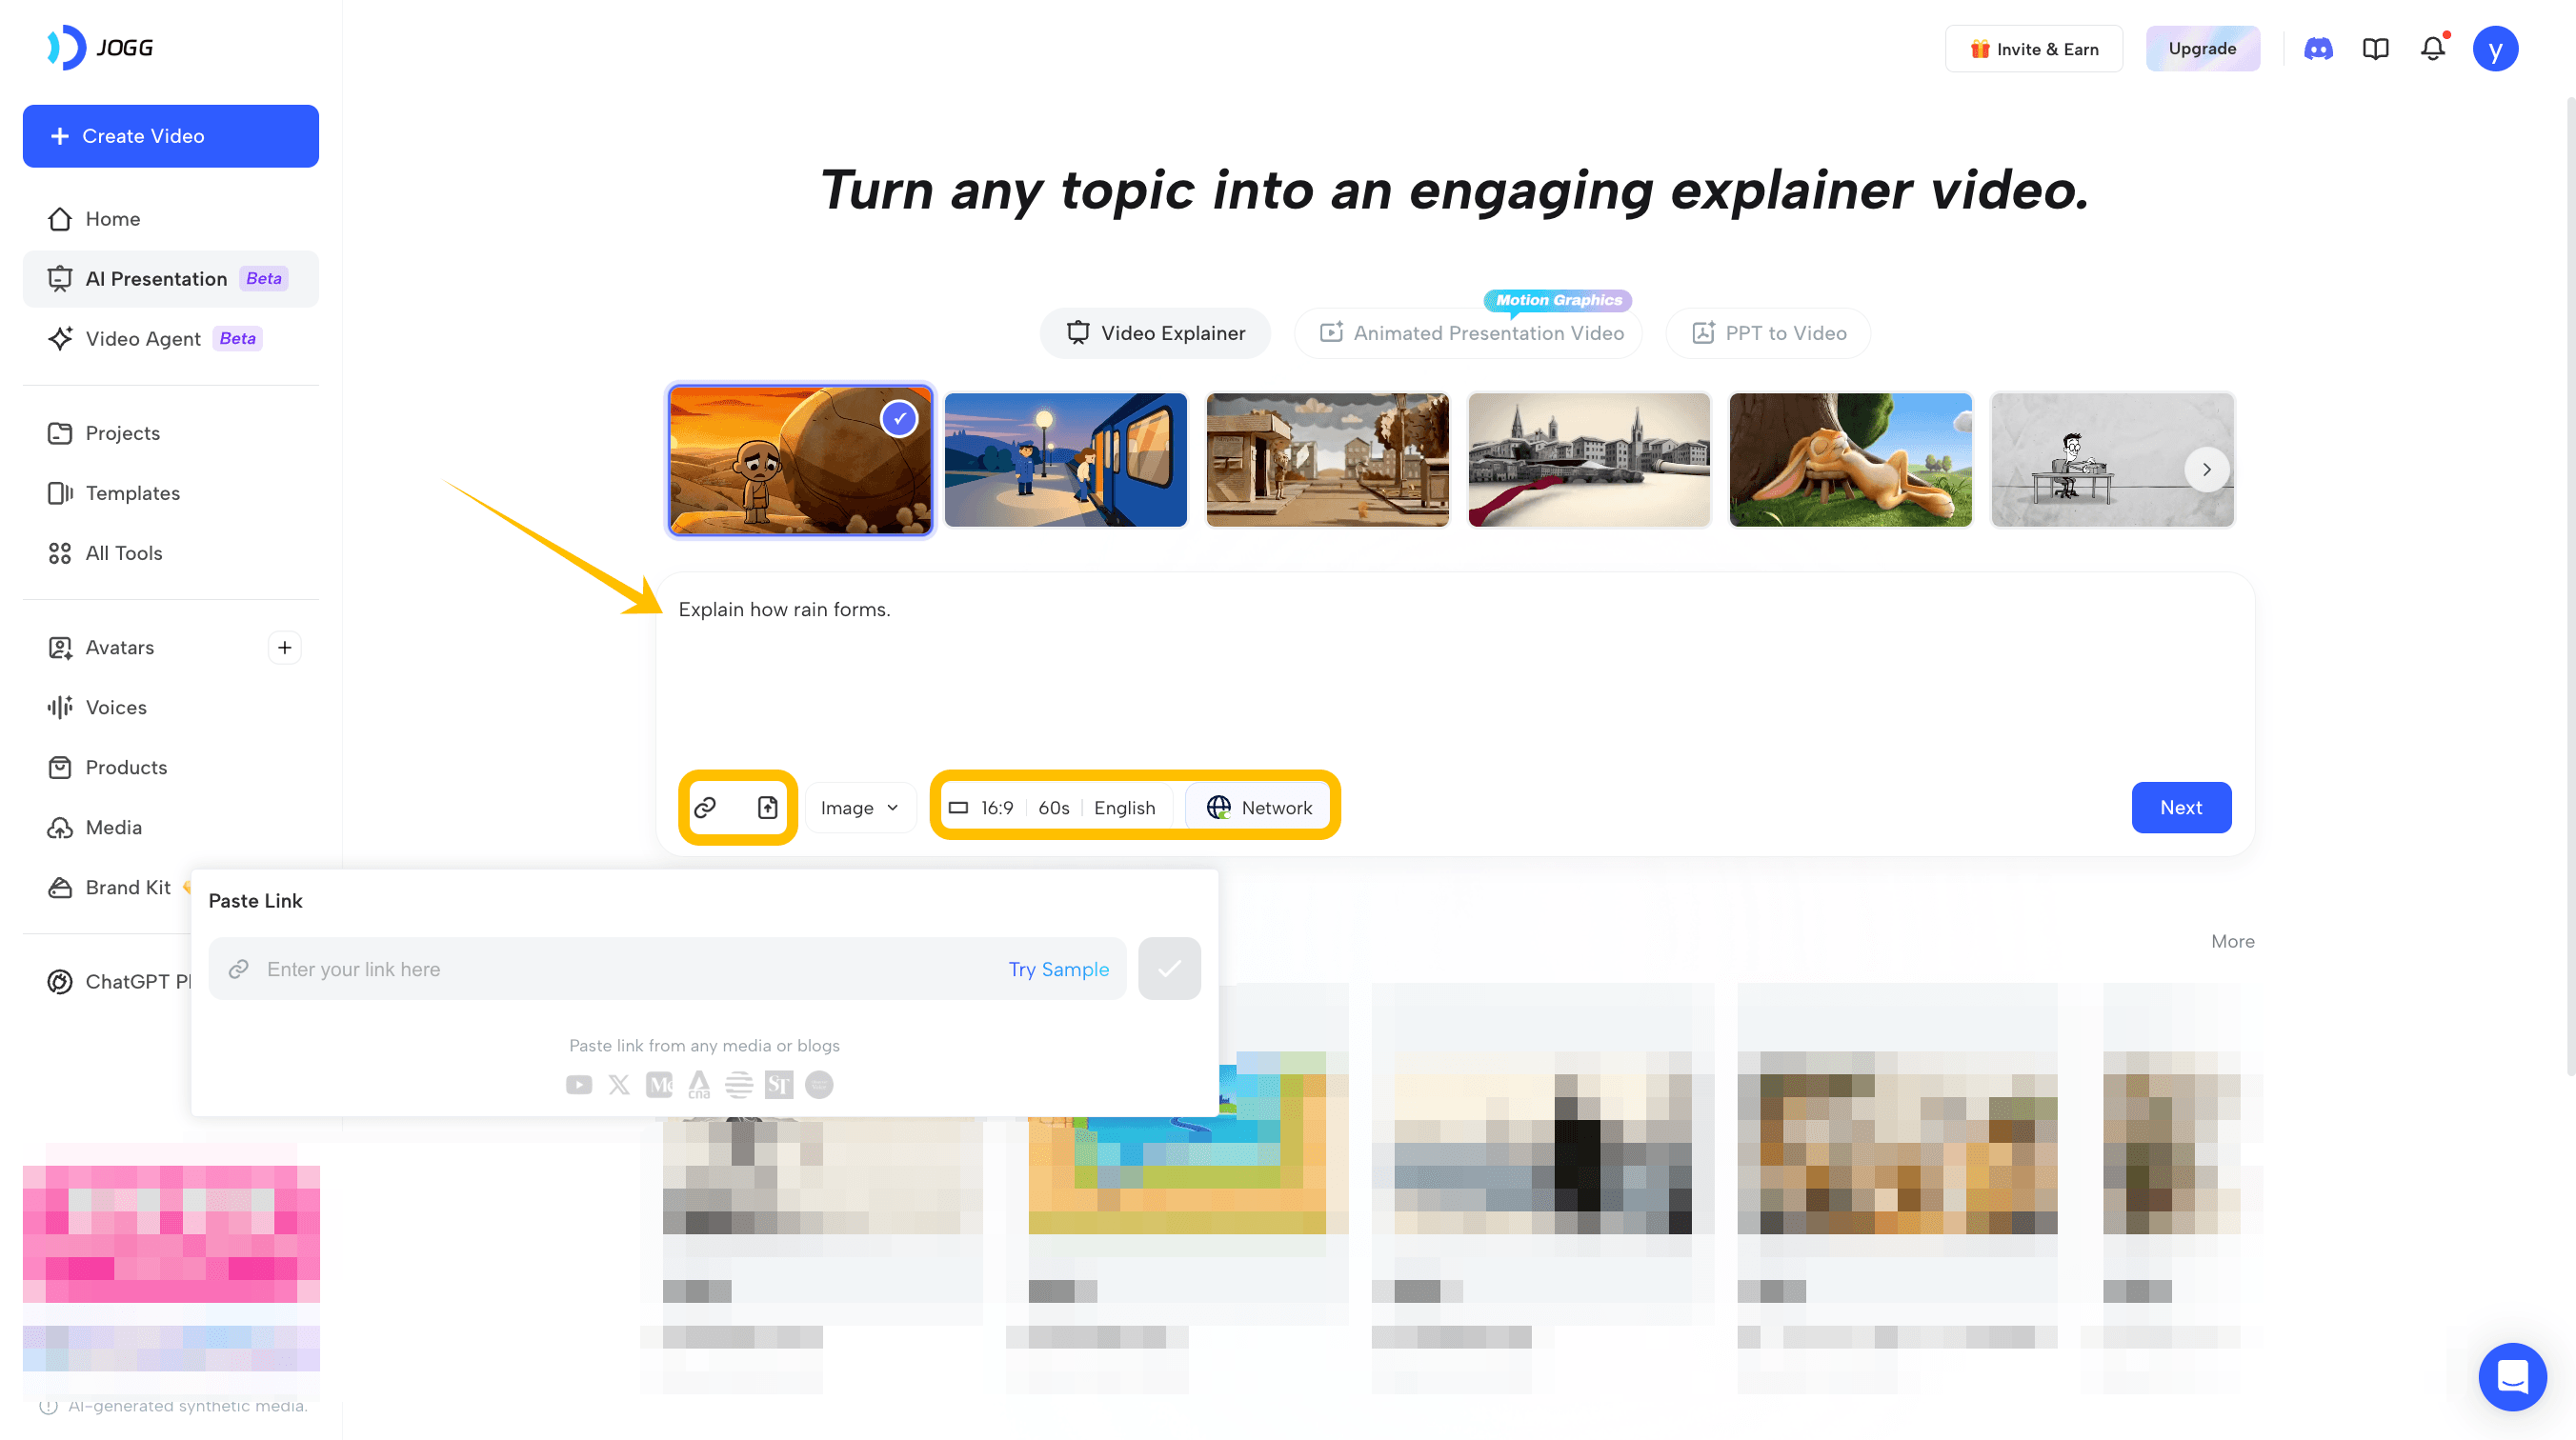
Enter the topic you want to explain. You can also paste a webpage link or upload a file to provide the AI with additional reference material.
Next, select the aspect ratio, duration, and language. JoggAI will use your topic, settings, and reference materials to develop the video content.
Step 3: Review and Refine the Script Outline
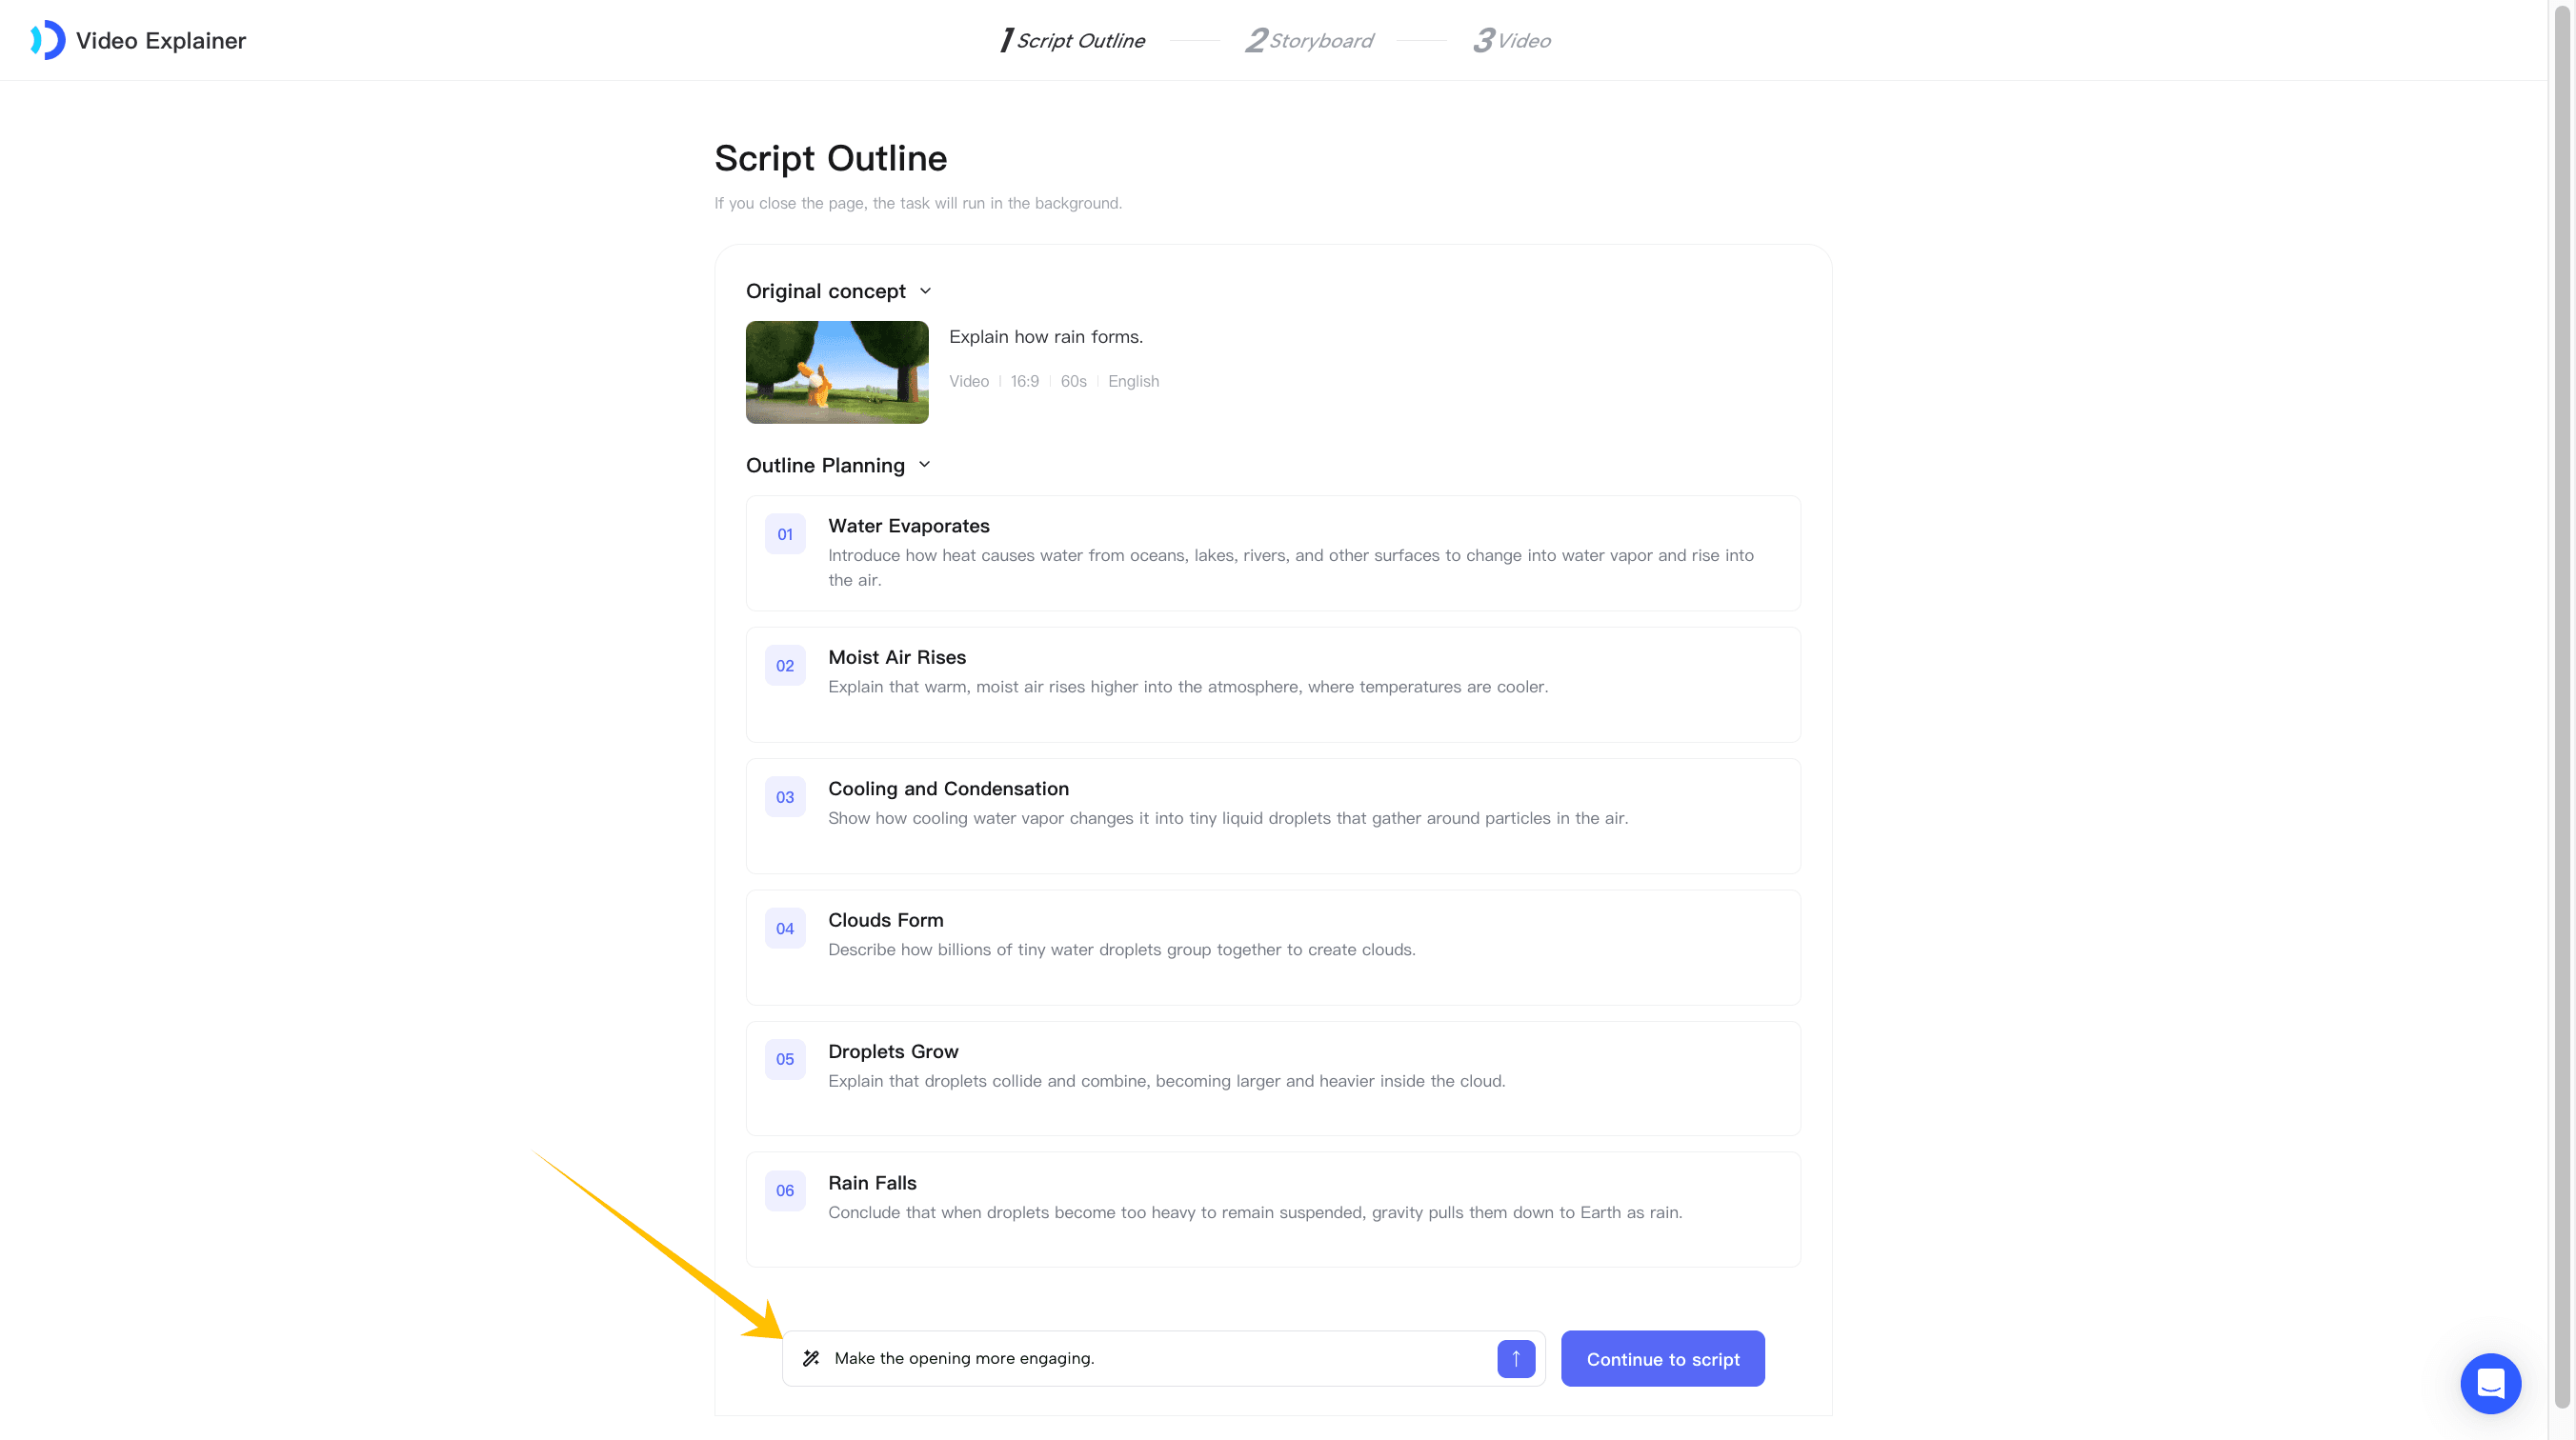
JoggAI first generates a script outline based on the topic and reference materials you provide.
Before proceeding, review the content structure, narrative sequence, and key points to ensure that the overall direction meets your expectations.
To make changes, enter a revision request in the prompt box at the bottom of the page. For example, you can ask JoggAI to “make the opening more engaging” or “simplify the second section.” JoggAI will revise the relevant content accordingly.
Once you are satisfied with the outline, continue to generate the full script.
Step 4: Refine the Storyboard and Render the Video
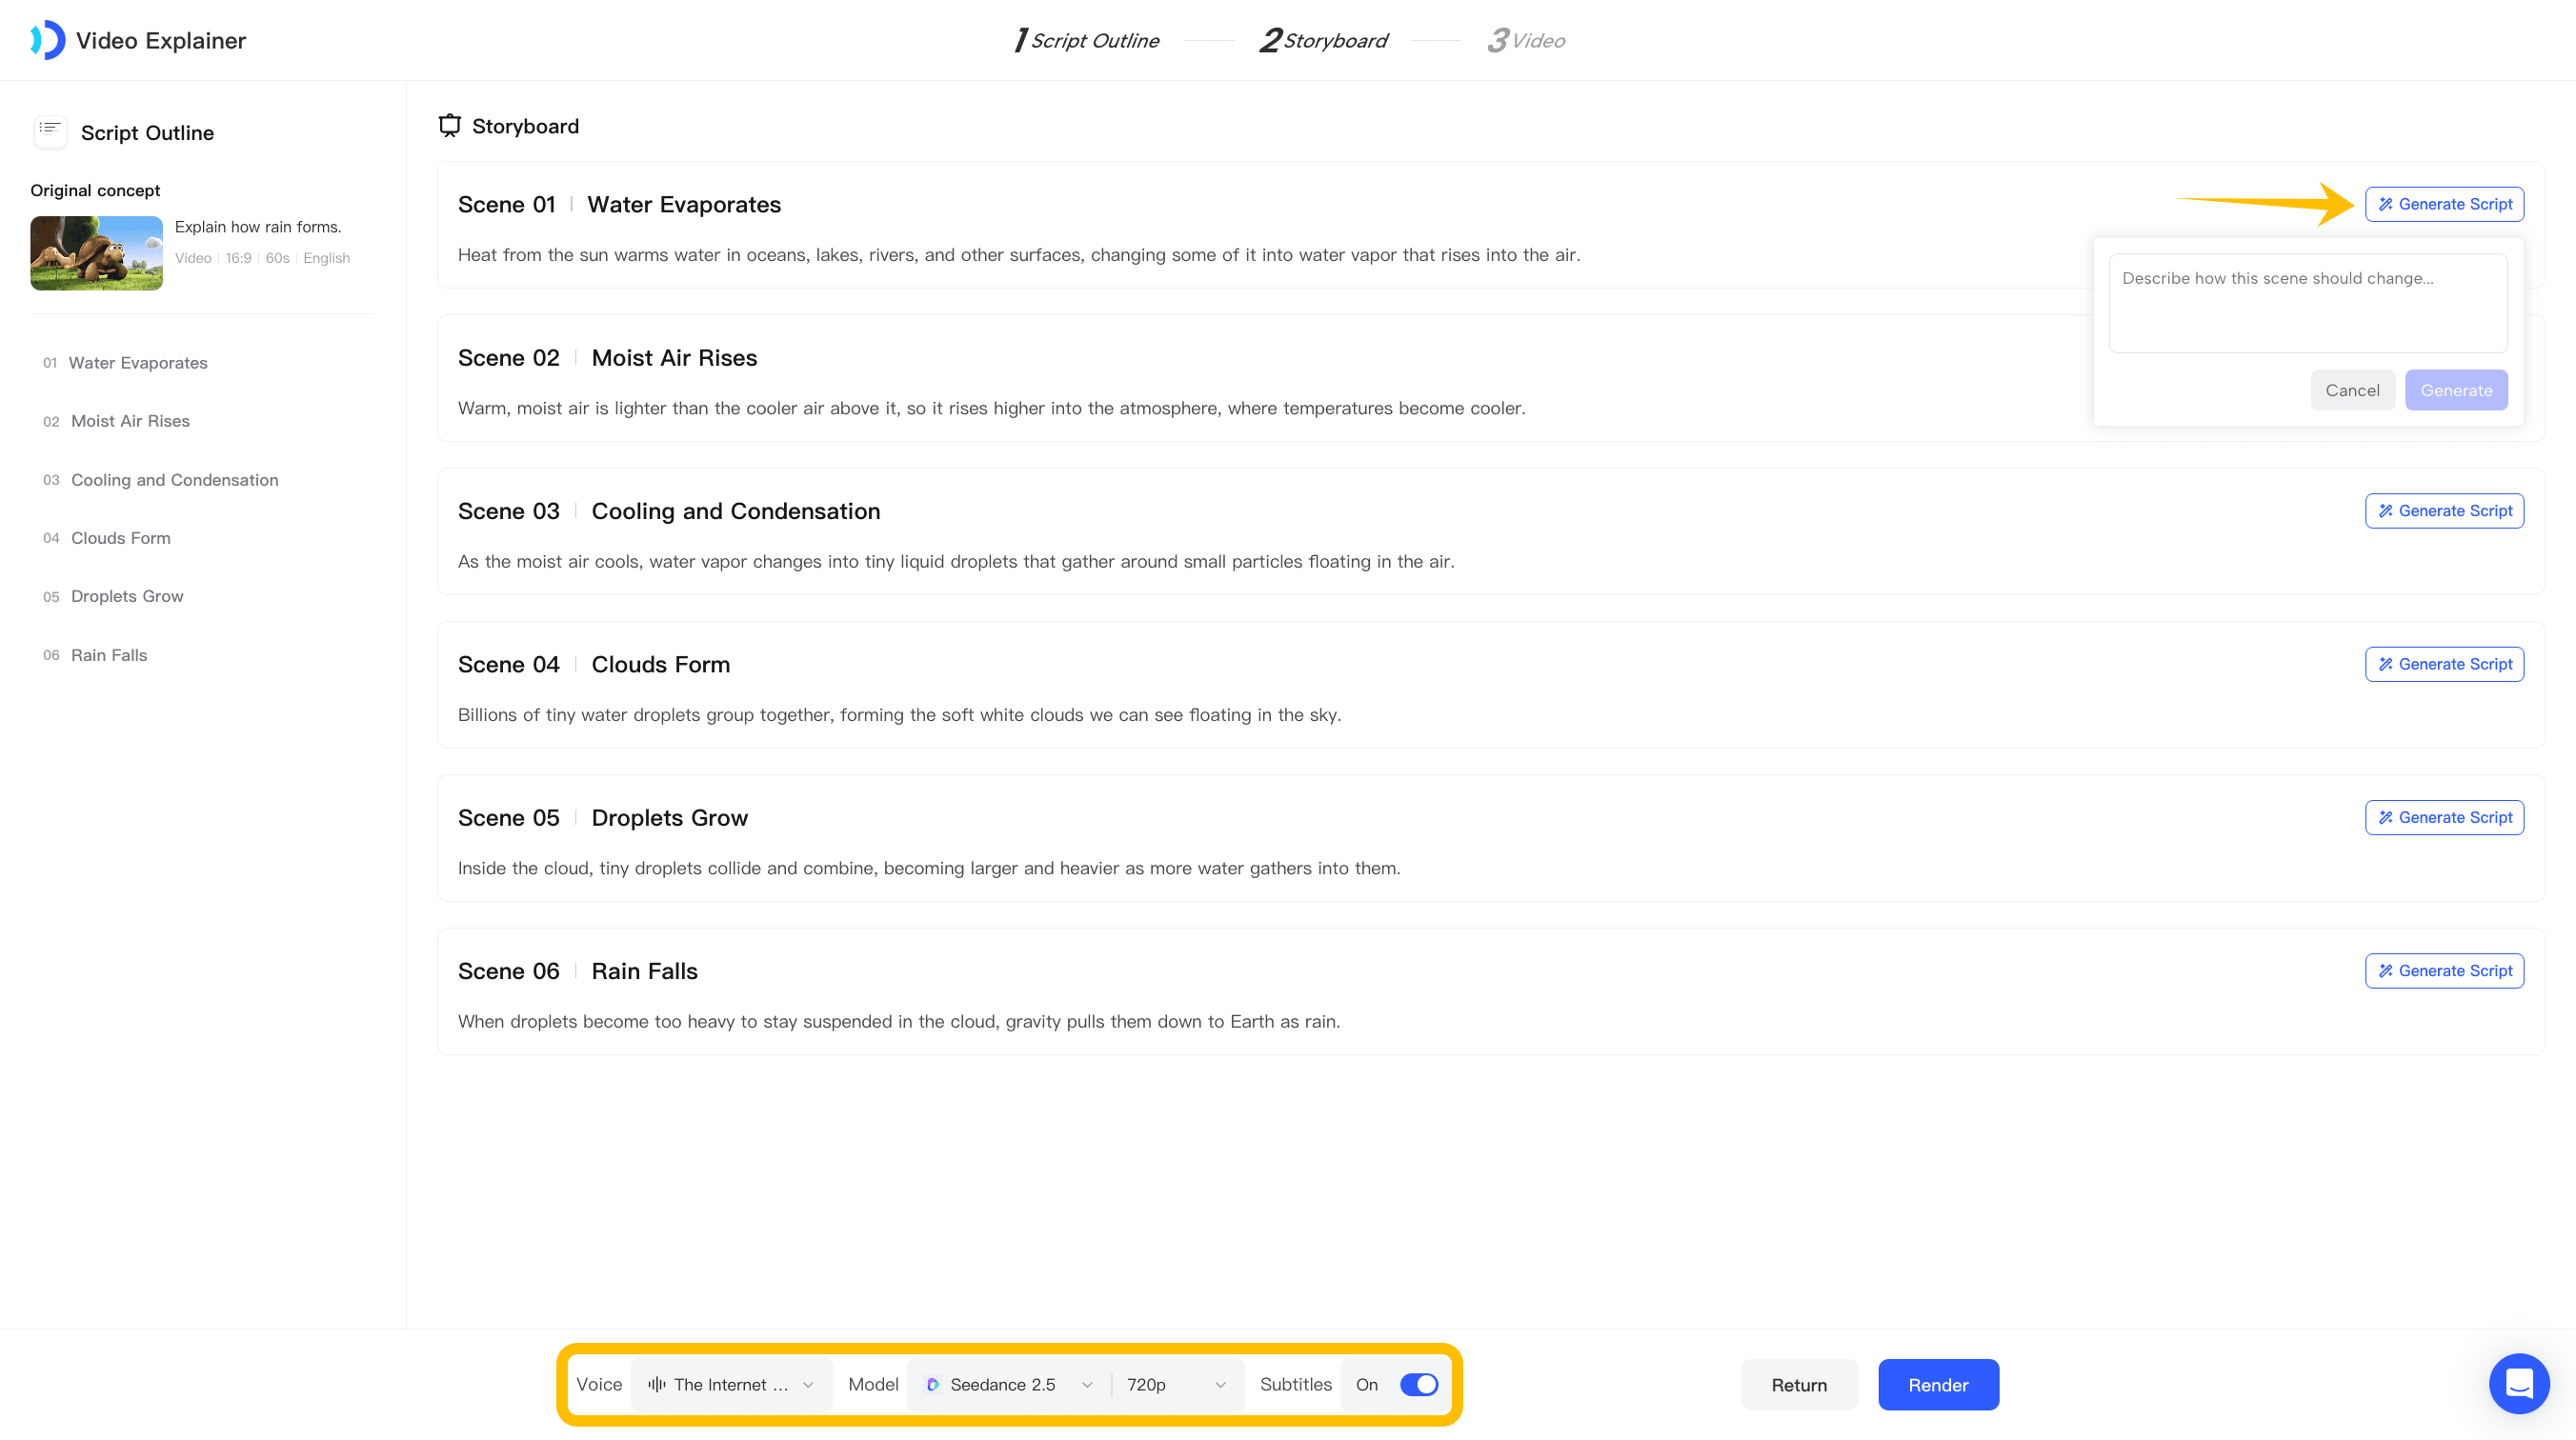
On the storyboard page, review and refine the generated script, visuals, and scene sequence.
Next, select a voice and generation model, and choose whether to enable subtitles. After confirming the script, storyboard, and video settings, click Render to begin generating the final video.
Step 5: Review the Generated Video
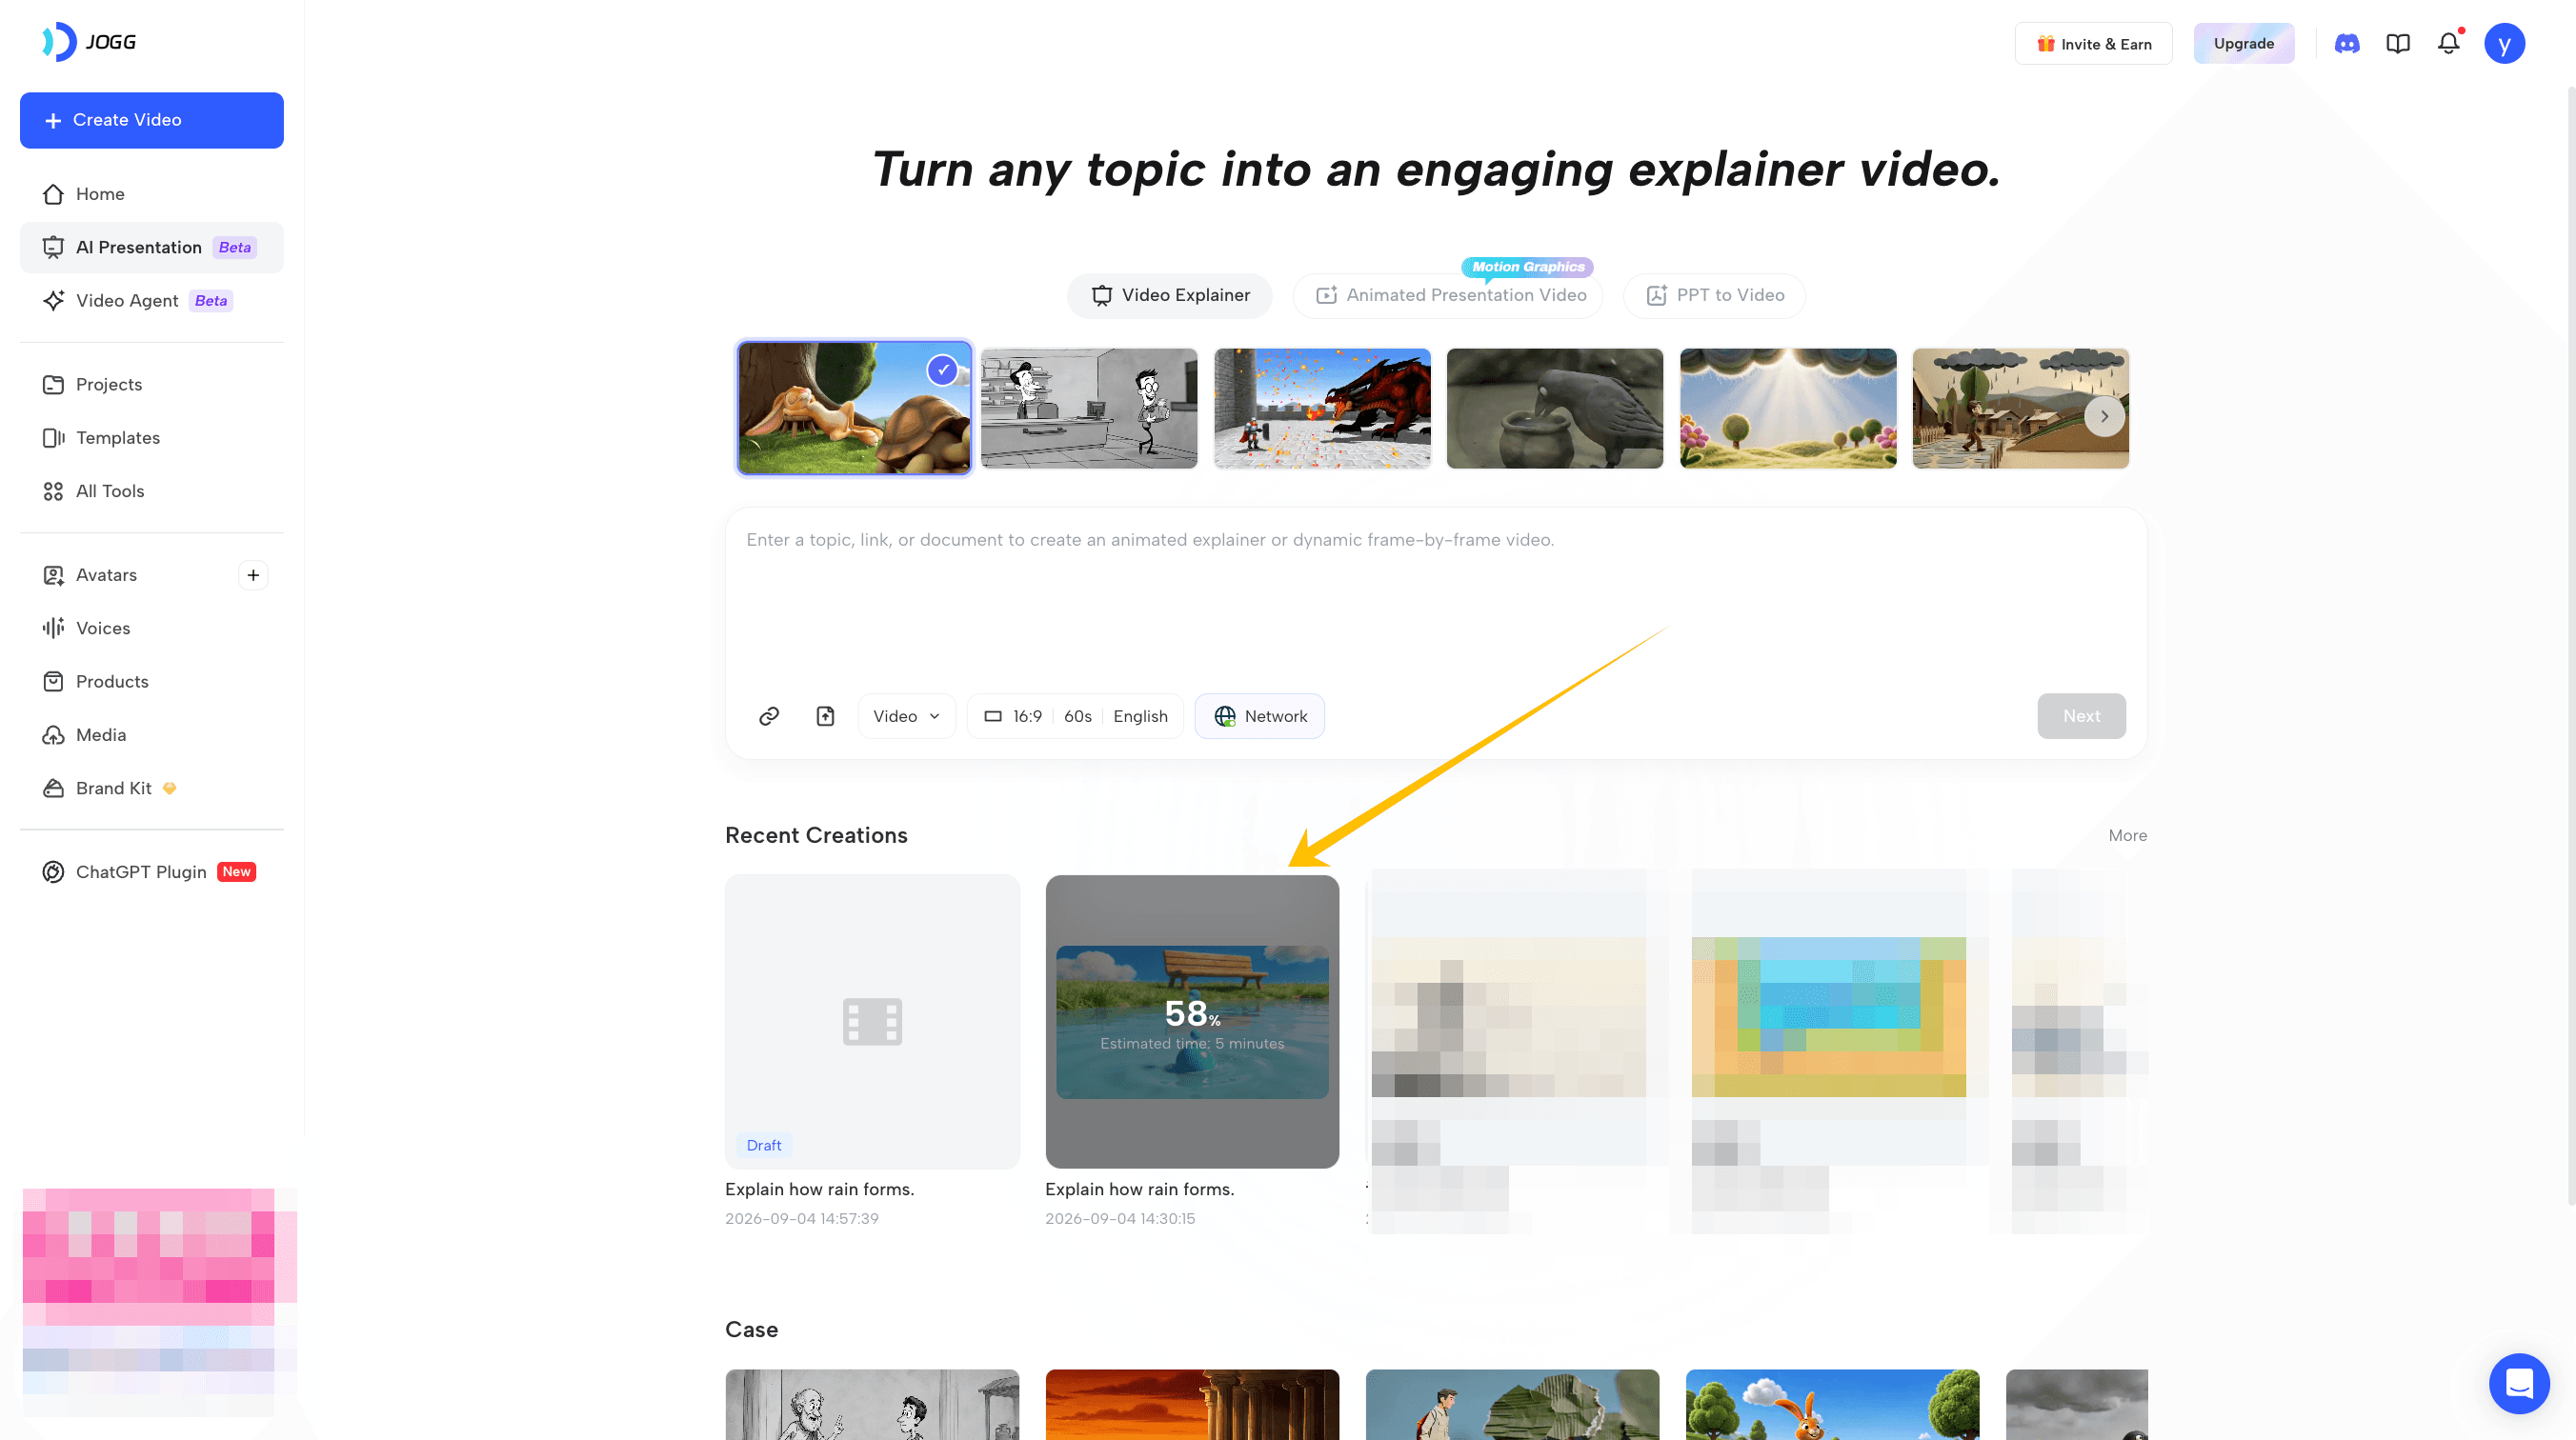
Once rendering begins, you can return to the home page to monitor the video’s progress.
When the video is ready, preview the final result and review the visuals, voice-over, subtitles, and pacing. If further changes are needed, return to the relevant step, make your revisions, and generate the video again.